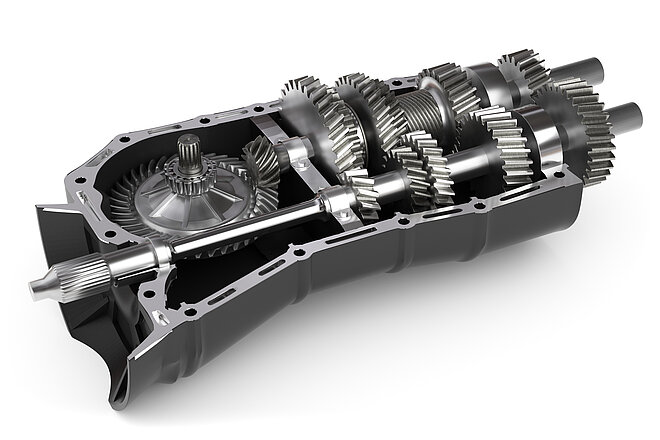
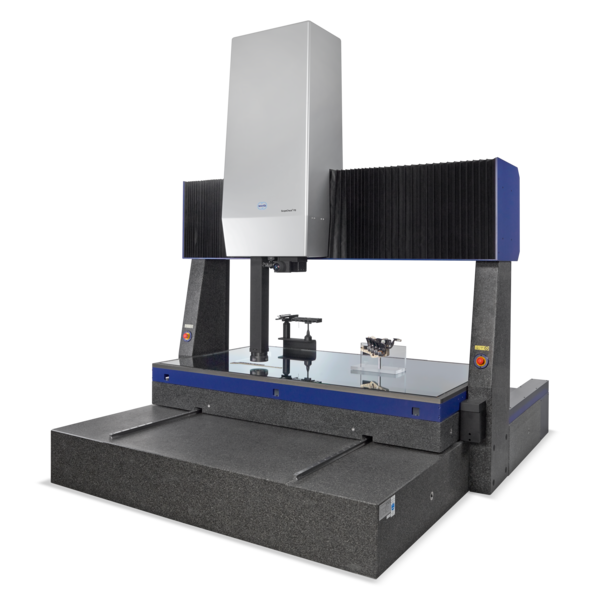
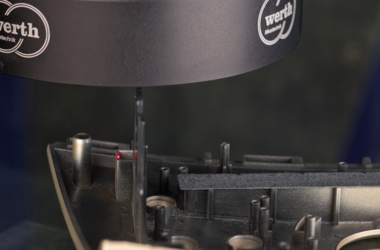
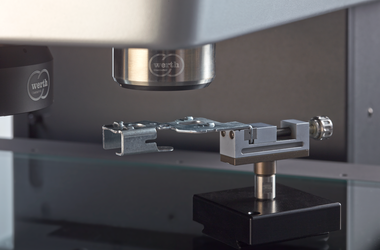
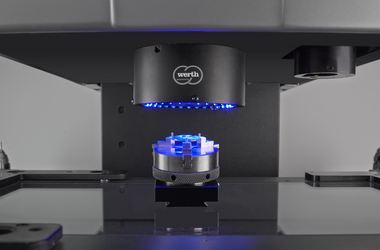
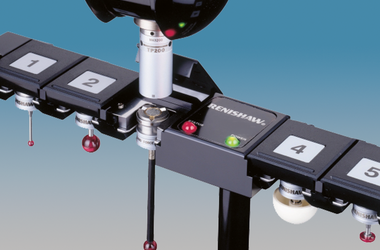
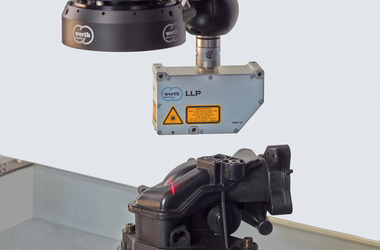
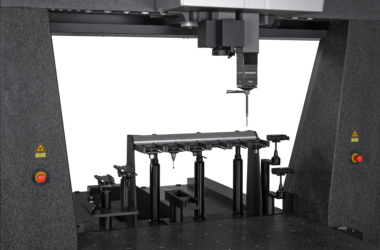
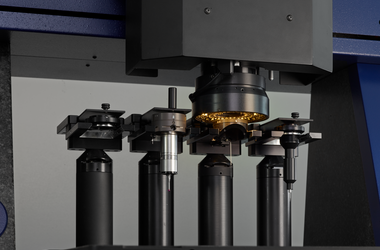
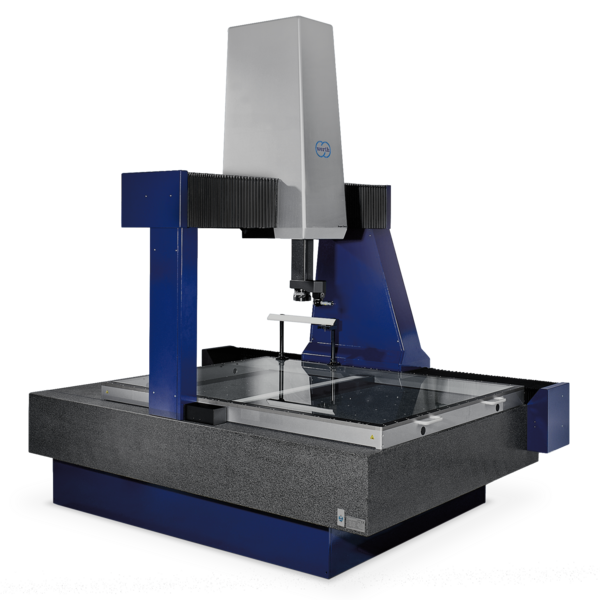
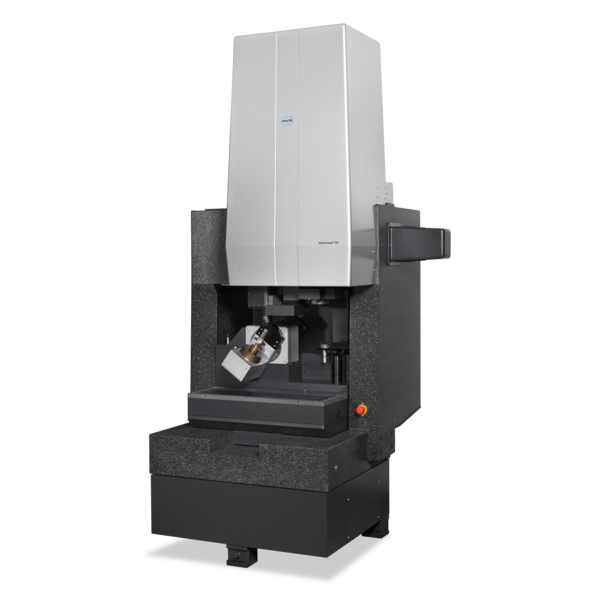
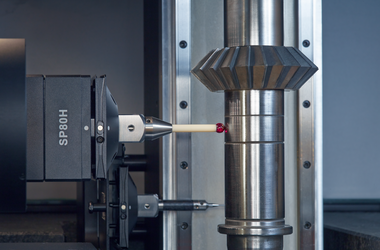
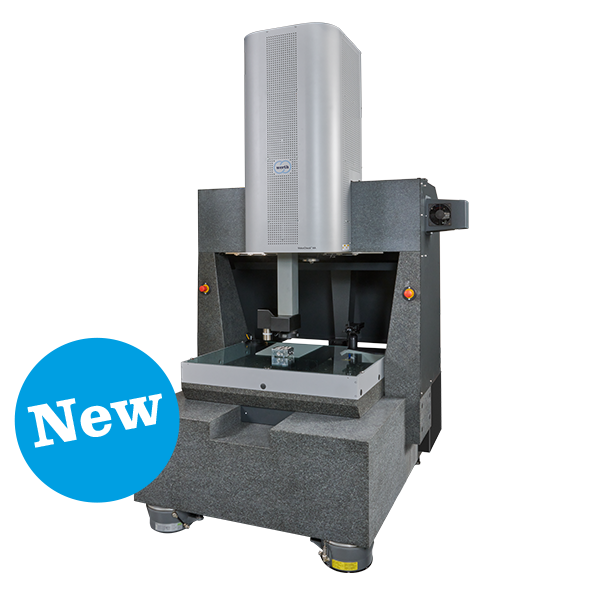
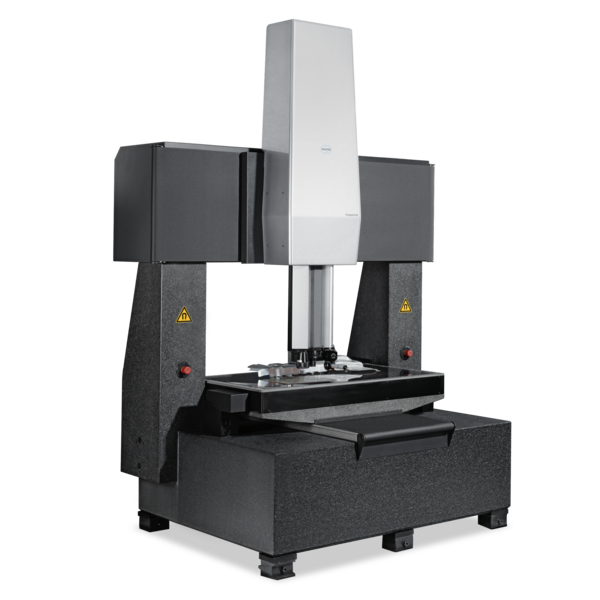
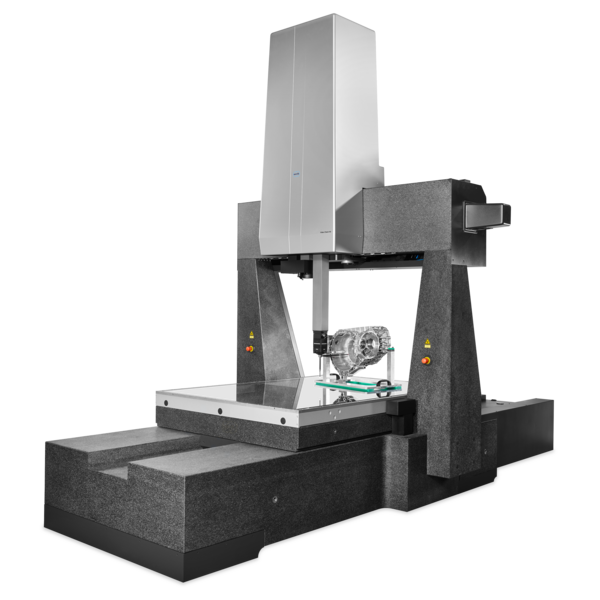
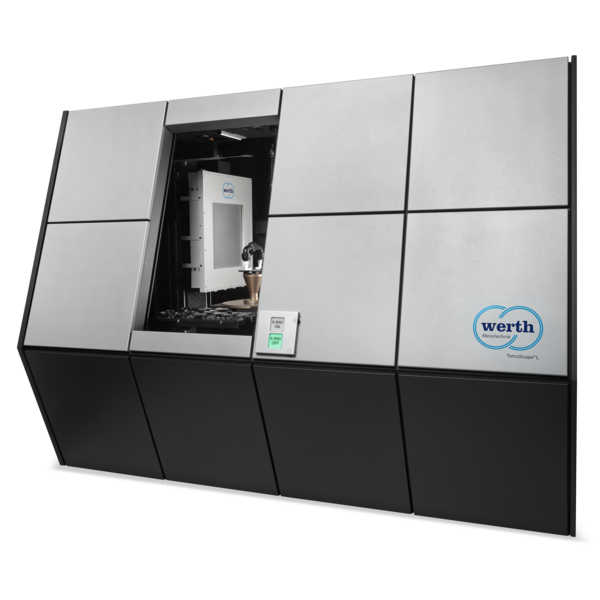
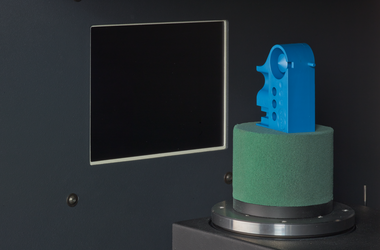
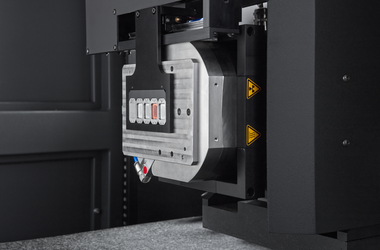
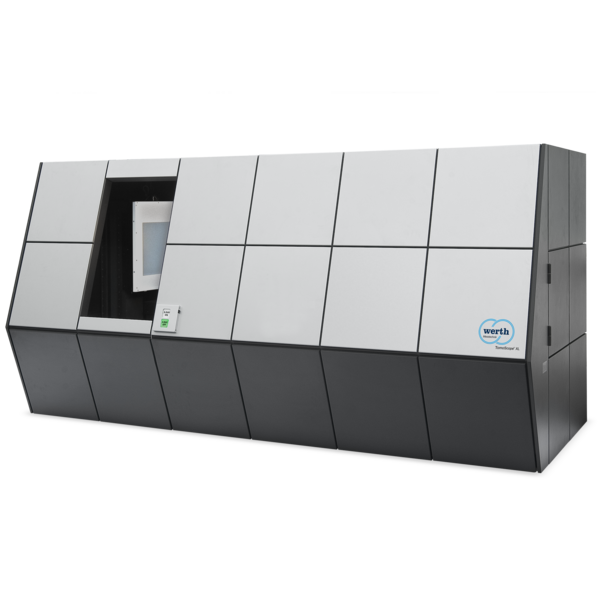
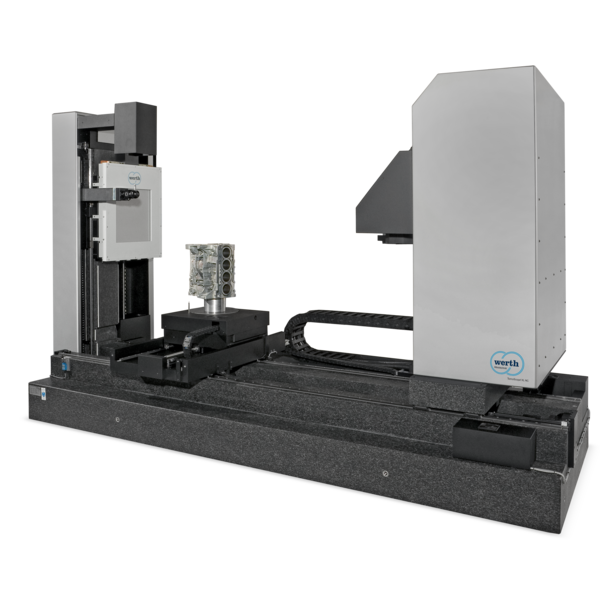
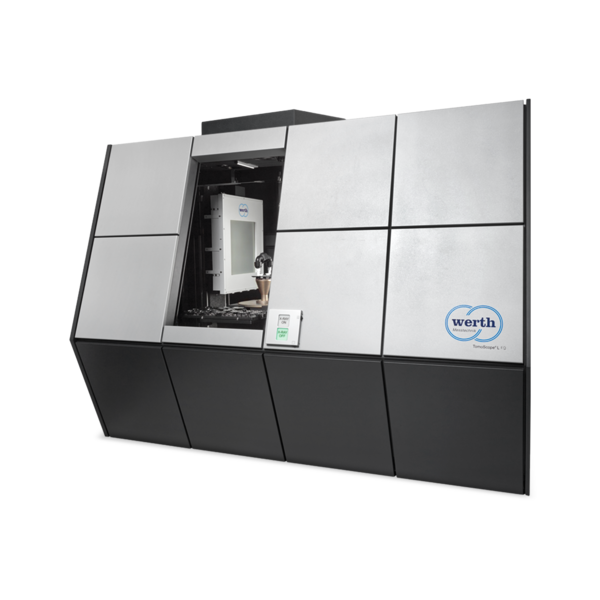
The surface of gear housings is generally very rough and is only machined at the functional points. These finished surfaces must be measured accordingly. In addition to the flatness of the reference surface, the diameter and position of the bores are also required. Gear housings are also tested for voids. The tolerances range from approx. 20 µm to 50 µm. This means that the requirements for measurement uncertainty are in the medium range. The measuring time plays a subordinate role.
-
Applications
- 3D free-form workpieces
- Extruded workpieces
- Moulds
- Semiconductor workpieces
- Lithographic structures
- Metal-plastic composite workpieces
- Prismatic workpieces
- Punched and bent parts
- Packaging
- Shaft-hub connections
- Shafts and axes
- Workpieces with micro-features
- Workpieces with optical functional surfaces
- Tools with geometrically determined cutting edges
- Tools with geometrically indeterminate cutting edges
- Gear wheels
- Cylindrical workpieces
- Industries
- Products
-
Service

- Programming services
- Measuring machine capability analysis, measurement process capability and traceability
- Measurement services with multi-sensor systems or computed tomography
- Repair
- Maintenance
- Calibration
- Installation, relocation and commissioning
- Retrofitting and updates
- Training courses
- Downloads
- About Werth
- Careers
- Foundation
- Publications
- Downloads

