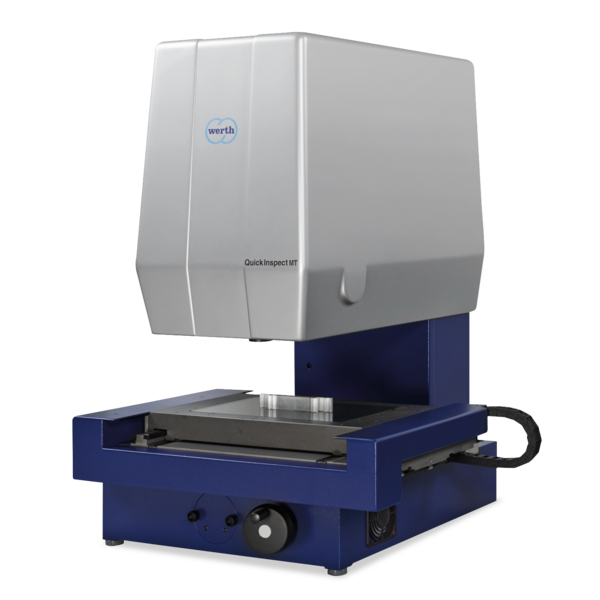
The QuickInspect enables the complete capture of the workpiece in one image and ensures easy operation and short measuring times. Focusing is not necessary with most device variants due to the large depth of field range of the telecentric lenses. The workpiece is placed on the measuring table of the digital measuring projector, automatically detected and measured. With the QuickInspect MT, even small or highly accurate features on larger objects can be displayed and optically measured in the raster image with almost any resolution (patent). The area of application is 2D workpieces.
-
Applications
- 3D free-form workpieces
- Extruded workpieces
- Moulds
- Semiconductor workpieces
- Lithographic structures
- Metal-plastic composite workpieces
- Prismatic workpieces
- Punched and bent parts
- Packaging
- Shaft-hub connections
- Shafts and axes
- Workpieces with micro-features
- Workpieces with optical functional surfaces
- Tools with geometrically determined cutting edges
- Tools with geometrically indeterminate cutting edges
- Gear wheels
- Cylindrical workpieces
- Industries
- Products
-
Service

- Programming services
- Measuring machine capability analysis, measurement process capability and traceability
- Measurement services with multi-sensor systems or computed tomography
- Repair
- Maintenance
- Calibration
- Installation, relocation and commissioning
- Retrofitting and updates
- Training courses
- Downloads
- About Werth
- Careers
- Foundation
- Publications
- Downloads


