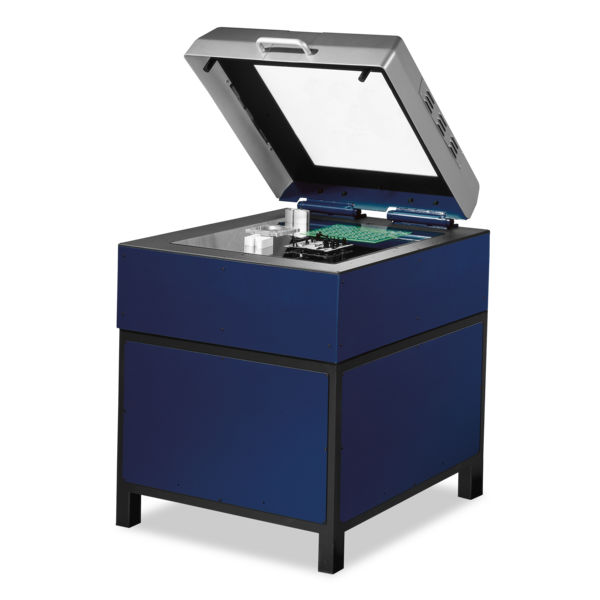
The FlatScope has an innovative design principle in which the image processing sensor is located under the glass plate for supporting the measuring objects. Therefore, all workpieces are imaged sharp without time-consuming focusing. With the FlatLight, uniform telecentric object illumination is possible throughout the entire measuring range, and with contour image processing, contour and element filters are available for reliable measurements. The area of application is the measurement of larger 2D workpieces such as foils, printed circuit boards, laser and fine blanking parts.
-
Applications
- 3D free-form workpieces
- Extruded workpieces
- Moulds
- Semiconductor workpieces
- Lithographic structures
- Metal-plastic composite workpieces
- Prismatic workpieces
- Punched and bent parts
- Packaging
- Shaft-hub connections
- Shafts and axes
- Workpieces with micro-features
- Workpieces with optical functional surfaces
- Tools with geometrically determined cutting edges
- Tools with geometrically indeterminate cutting edges
- Gear wheels
- Cylindrical workpieces
- Industries
- Products
-
Service

- Programming services
- Measuring machine capability analysis, measurement process capability and traceability
- Measurement services with multi-sensor systems or computed tomography
- Repair
- Maintenance
- Calibration
- Installation, relocation and commissioning
- Retrofitting and updates
- Training courses
- Downloads
- About Werth
- Careers
- Foundation
- Publications
- Downloads


